
Building Our Cedar Compost Bin: What Worked and What I'd Change
Draft post. The date shown is a placeholder; the real publish date is set when this post is final and Derek approves it.
For a while our compost “system” was a pile. [DEREK: confirm what you used before the bin, e.g., an open pile, a wire ring or nothing.] It worked the way piles work. Scraps went out, the edges spread, and it never really looked like something you’d want next to the garden.
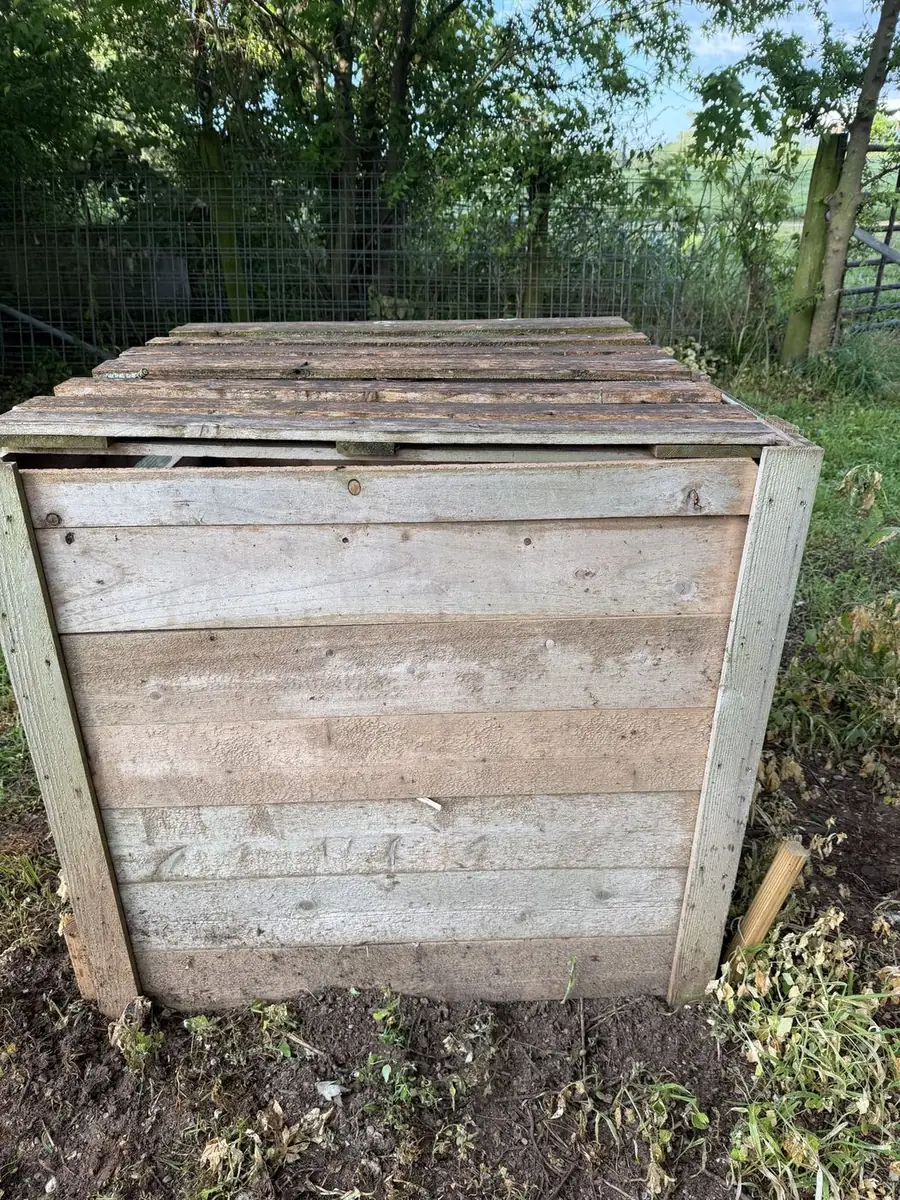
So I built a bin. Nothing fancy: a 3 × 3 × 3 foot square box with cedar boards, four corner posts, hardware cloth on the sides and a board lid. It’s the same bin in our plans, and every photo in those plans is of this one.
Here’s how it went, including the parts that didn’t go perfectly.
Why this design
I had a short list of wants:
- Airflow. Compost needs air, so solid walls on every side weren’t going to work.
- Keep critters out. We keep chickens, and anything that smells like supper draws attention. [DEREK: confirm what animals you were worried about.]
- Easy to empty. A bin you can’t get a fork into is a bin you stop using.
- Look decent. It sits where we see it every day.
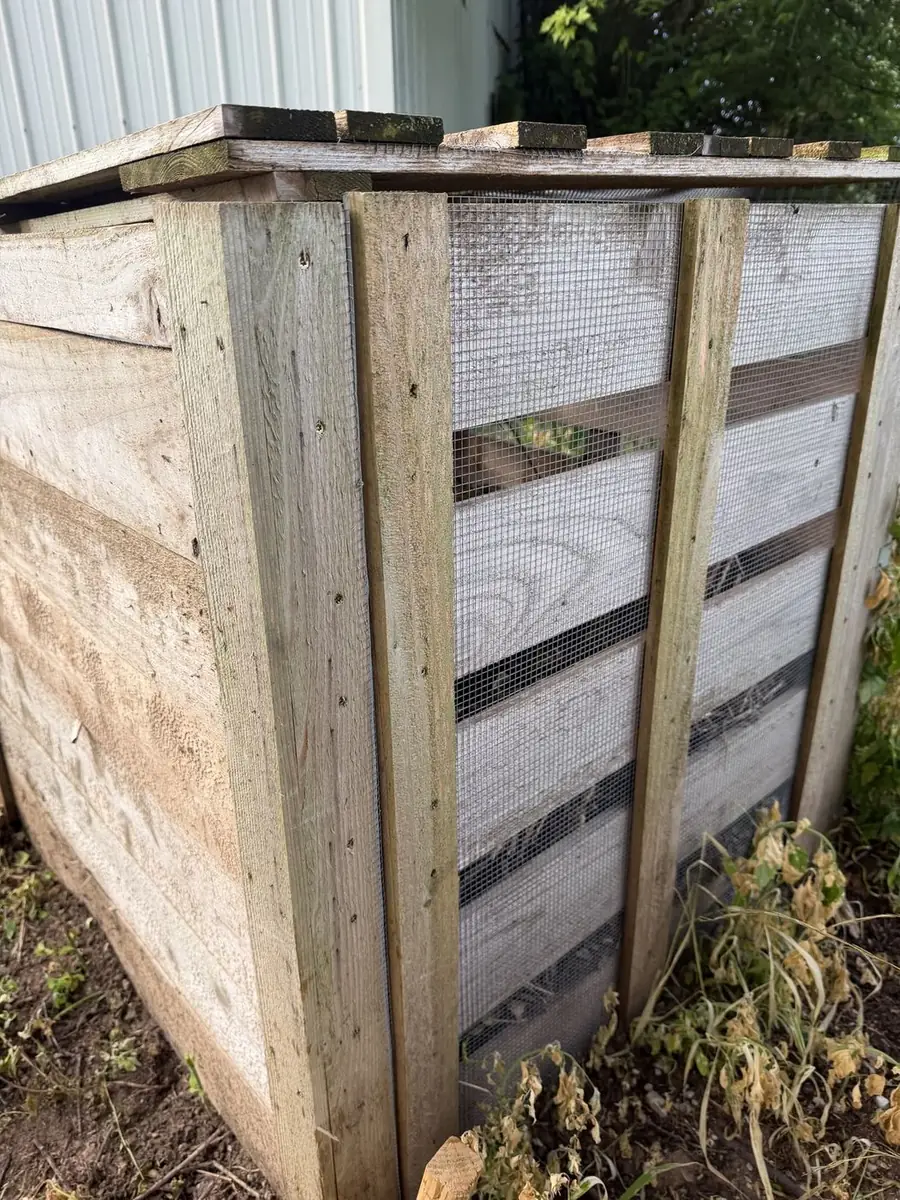
Horizontal cedar boards with ½-inch hardware cloth checked every box. The boards give it strength and a clean look, and the cloth lets air in while keeping the pile contained. I went with ½-inch hardware cloth over chicken wire because it’s stiffer, holds its shape and does a better job keeping rodents out.
Cedar’s naturally rot-resistant, which matters for something that sits on damp ground holding wet scraps. If you grow food and want to keep things natural, skip treated lumber anywhere it’ll touch finished compost.
The build
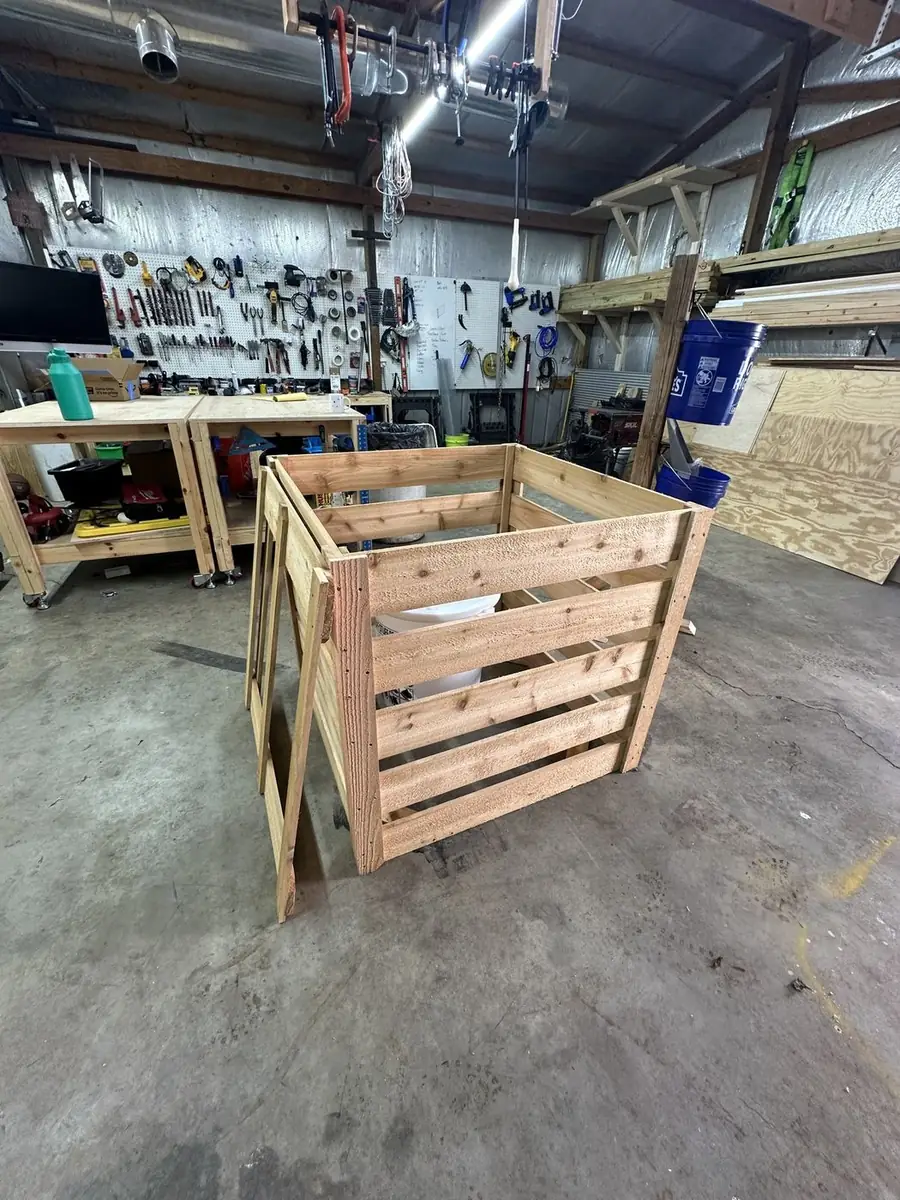
I built it in the workshop first, then moved it out to the garden. [DEREK: confirm. The photo shows it in the workshop. Did you build it in one piece or carry the walls out separately?]
The basic order:
- Cut four corner posts to about 36 inches.
- Cut the horizontal boards so the outside measures roughly 36 × 36. With 1×6 fence boards, that’s about five or six boards per side, depending on spacing.
- Build each wall flat: two posts, with the boards screwed on using 2½-inch exterior screws.
- Staple hardware cloth to the inside of the openings.
- Stand the walls up, screw the corners together and check that it’s square.
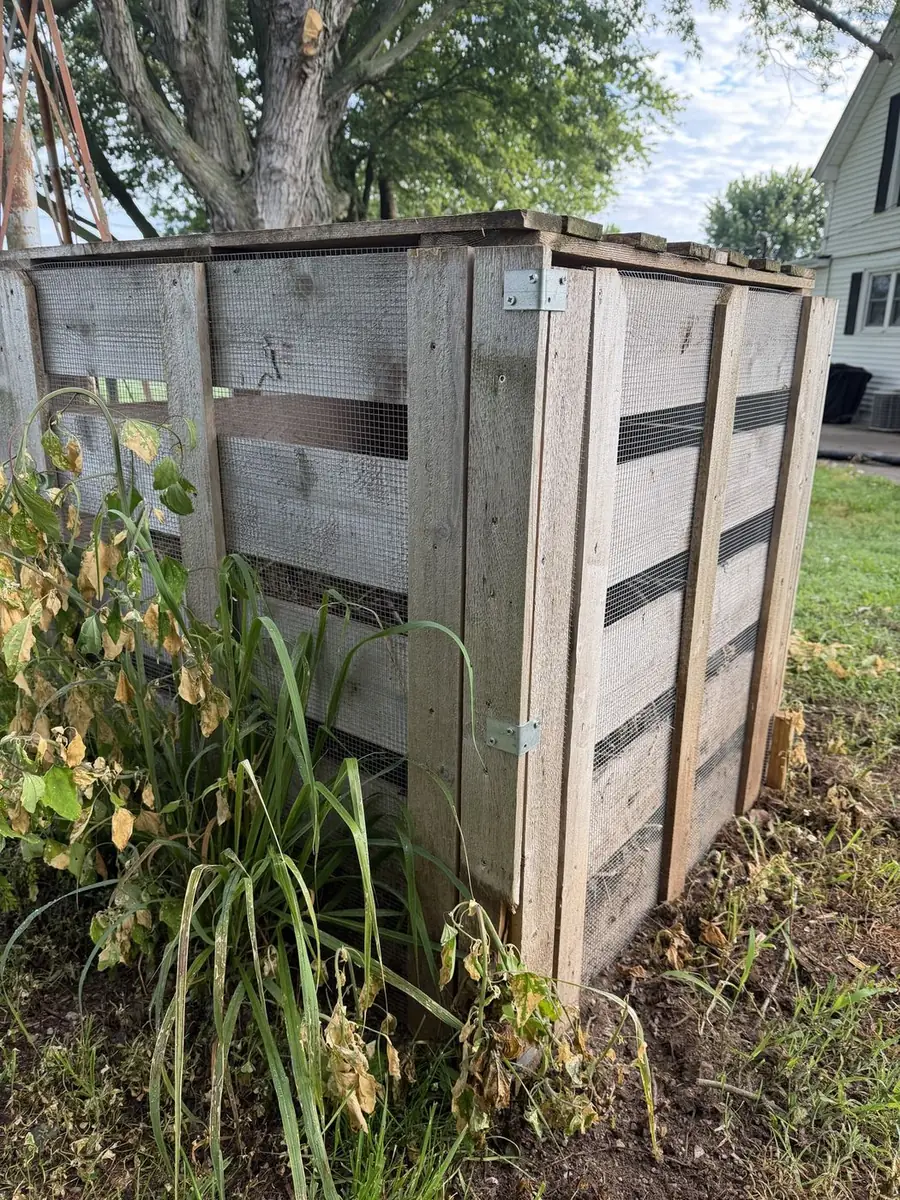
- Add metal corner brackets for extra stiffness.
- Lay boards across the top for a lid.
Tools I used: a miter saw for the boards (my DEWALT 12-inch), a drill/driver, a Stanley staple gun for the hardware cloth, and Crescent Wiss offset aviation snips to cut the cloth. [DEREK: confirm these are the exact tools you used on this build, plus your drill/driver brand.]
The materials list in the plan puts the cost at about $70 to $140, depending on cedar prices and whether you use fence pickets or dimensional lumber. [DEREK: what did ours actually cost?]
What worked
The hardware cloth. This is the detail that makes the bin. Air moves through, the pile stays in, and [DEREK: confirm, e.g., “we haven’t had anything dig into it” or what you’ve actually seen].
Stapling from the inside. I stapled the cloth to the inside face of the posts and boards. The outside stays clean cedar, and the cloth is held against the wood by the pressure of the pile instead of pulling away from it.
The corner brackets. They’re optional in the plan, but I’m glad I added them. The box went from “pretty solid” to “not going anywhere.” [DEREK: confirm.]
A loose board lid. I went back and forth on a hinged lid. [DEREK: confirm.] The plan uses individual boards resting on the top rails, and that’s what we have. You pull a board or two and dump the bucket. Simple wins.
Where it sits. We put it on bare ground near the garden so worms and the good organisms can come up from below and the finished compost doesn’t have far to travel. [DEREK: confirm the spot, e.g., near the garden or near the kitchen door.]
What didn’t go perfectly
Here’s the honest part.
Cedar splits. If you drive a screw close to the end of a cedar board without pre-drilling, there’s a good chance you’ll split it. The plan says to pre-drill near the ends for a reason. [DEREK: confirm. Did you split boards before you started pre-drilling? How many?]
Hardware cloth bites. The cut edges are sharp. Wear gloves, then file the edges or fold them over, or cover them with a thin strip of wood. [DEREK: confirm whether you learned this one the hard way.]
Square takes attention. When you join four walls, it’s easy for the box to rack out of square. Check corner to corner before the last screws go in. [DEREK: confirm whether this was an issue for you, or cut it.]
[DEREK: add one real failure or surprise, e.g., the pile was too dry at first, it filled faster than you expected, or the lid boards warped. Only use something that actually happened.]
How we use it
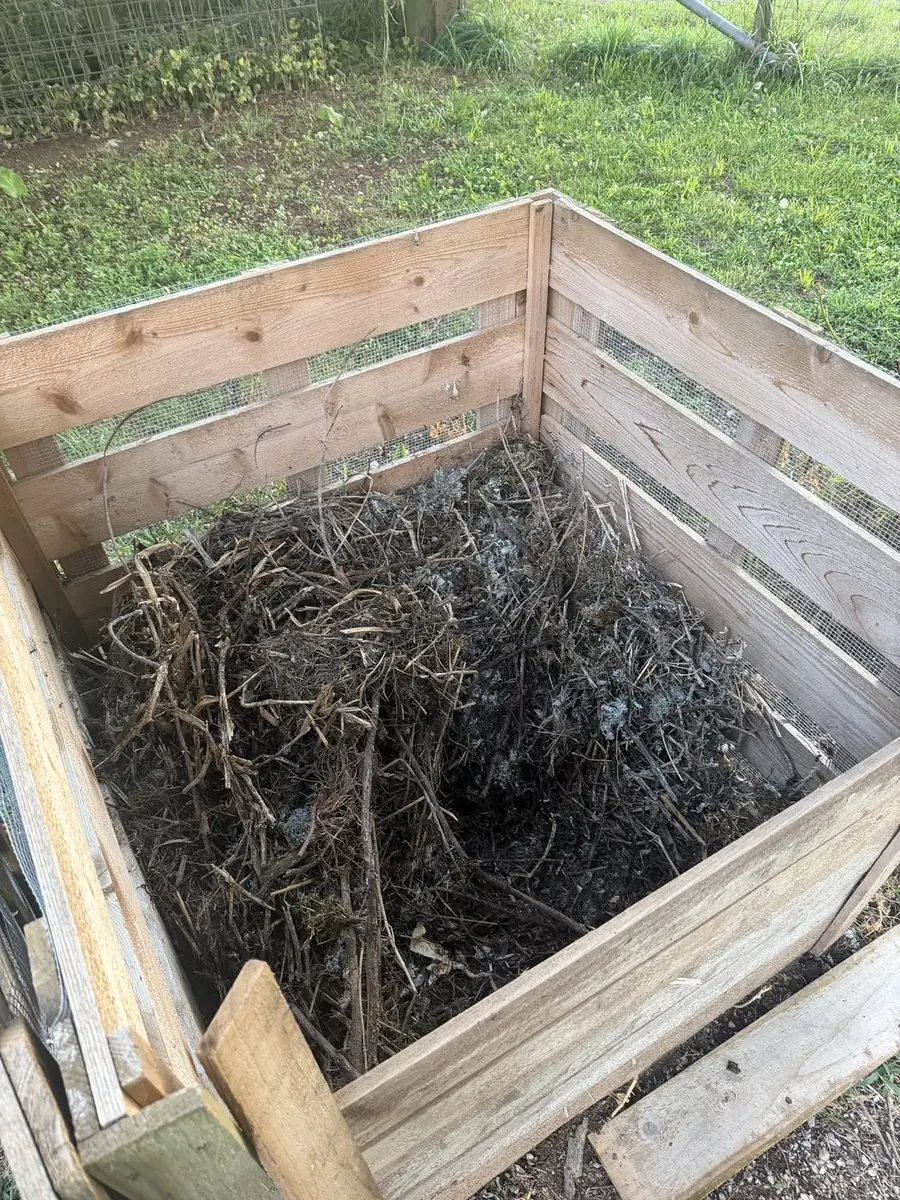
Using it is the easy part. Alternate browns (dry leaves, straw, cardboard) with greens (kitchen scraps, grass clippings). Keep it about as damp as a wrung-out sponge, and turn it every few weeks. The airflow from the hardware cloth makes that easier than it would be in a solid box.
The kids carry out the scrap bucket, and watching kitchen waste turn into dirt you can grow food in is a pretty good lesson for any age. [DEREK: confirm the kids help with this.]
What I’d change next time
- Pre-drill everything near board ends from the start, not after the first split.
- Plan for a second bay. One 3×3 bin is enough for most families, but if you’re serious about compost, build two side by side: one active, one curing. [DEREK: confirm whether a second bay is on your list.]
- [DEREK: anything else you’d do differently, like board spacing, wider gaps for airflow, or a different lid?]
If you want to build one
We put the whole build into the DIY Cedar Compost Bin Plans ($17). It’s an 8-page PDF with the materials list, tools, step-by-step assembly matched to the photos, tips from our build and real photos of this bin from the workshop to the garden.
Or just use this post as your guide. A bin you build this weekend beats a perfect one you never get to. Either way, wear your safety glasses and gloves, and read our DIY Safety Disclaimer before you start.
— Derek