The Pantry & Preservation Checklist We Actually Use
Fall is when the pantry stops being a closet and starts being a plan. On our place, that plan has to fit a young family: evenings after work, one or two real canning stretches, and the honest limit of how many jars we can process before someone needs supper.
This is the checklist we actually use — not a magazine layout, not a 40-step system. Adapt it to your kitchen and your season. Skip anything that doesn’t fit.
Why a checklist beats a vibe
We’ve tried “just put things up as they come.” Some years that works. Most years it means we open the pantry in January and find three jars of the same pickle and no tomatoes.
A short checklist does three jobs:
- Shows what’s already on the shelf so we don’t double-buy or double-can.
- Names one or two put-by goals that match what the garden (or the farm stand) actually gave us.
- Keeps us from starting a batch we can’t finish when the day gets short.
If you only do the first two steps below, you’re already ahead of most of our early attempts.
The checklist
1. Walk the pantry and freezer (15–20 minutes)
Open every shelf and the freezer. No judging. Just count.
- What’s already jarred, frozen, or dried?
- What’s almost gone that you’ll miss in winter?
- What’s past its best and should leave the shelf (or go into a “use soon” box)?
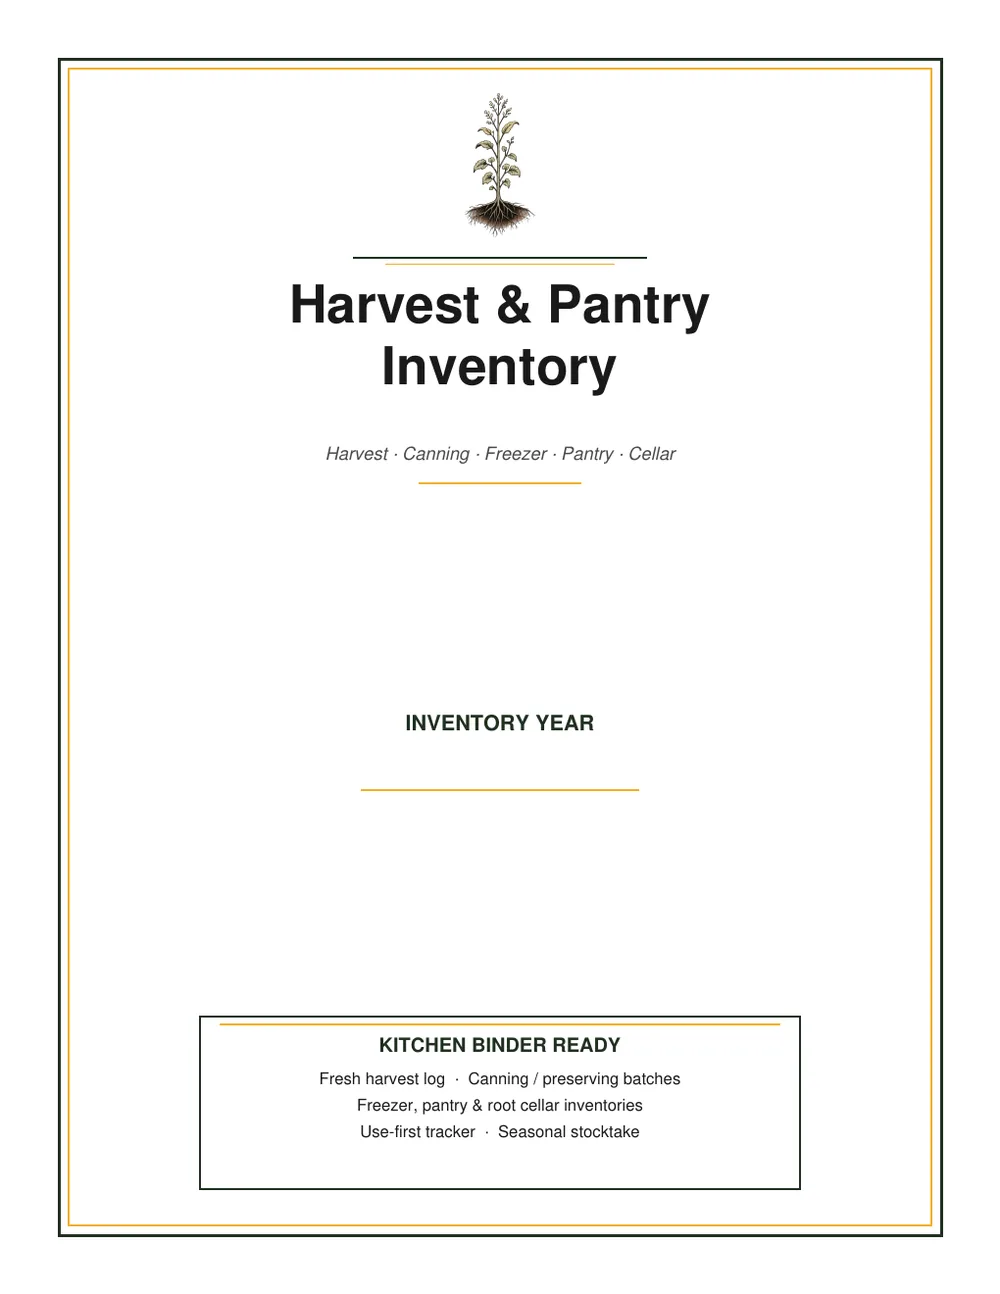
Write it down once. A notepad works. We eventually moved our counts into the Harvest & Pantry Inventory printable so the page lives in the binder instead of on scraps — but the walk matters more than the form.
2. Name this season’s put-by goals (5 minutes)
Pick one to three things to put up, not twelve. Match the list to what you actually have:
- Garden surplus (tomatoes, beans, apples, herbs)
- Something you can buy in bulk when it’s cheap and good
- Something your household eats every week in winter
Write a rough jar or bag count next to each. Then cut the list in half if it looks ambitious. Smaller scopes, finished more often, beat a dream list that never starts.
3. Check jars, lids, and the canner before the produce is on the counter
Few things kill momentum faster than running out of lids mid-batch.
- Count clean jars in the sizes you’ll use
- Count new lids (don’t reuse sealing lids)
- Confirm rings aren’t bent or rusty
- Confirm the canner, rack, jar lifter, and funnel are where you think they are
If anything’s missing, fix it on a non-canning day. Canning day is for canning.
4. Use a tested recipe — and write the batch plan
For every item on the put-by list, have a tested recipe from a trusted source (USDA Complete Guide to Home Canning, university extension, or another known-safe guide). We don’t invent processing times.
Then write a short batch plan for the day:
- What goes in the pot first
- How many jars of each
- Approximate start time
- Who’s on kitchen duty (and who isn’t)
Our Fall Canning & Preserving Planner is basically this step made reusable: season goals on one page, batch plan on another. Use ours, or a notebook. The point is the plan, not the product.
5. Decide what to skip when time is short
This is the part we learned the hard way.
When the day shrinks, we skip:
- Fancy recipes that need new skills mid-batch
- “While we’re at it” projects that aren’t on the list
- Starting a second canner load after everyone is already tired
We keep:
- One clear batch
- Clean jars waiting
- A realistic stop time
Finishing one batch well beats half-finishing three.
6. After the jars cool: label, log, restock the checklist
When jars are cool and sealed:
- Label with contents and date
- Log what went on the shelf (update the pantry count)
- Note what you’d change next time (too many jars? wrong size? recipe that took forever?)
Then stop. Rest is part of the work. The pantry doesn’t need a victory lap; it needs food you’ll actually open in February.
A one-page version you can copy
If you want this on a scrap of paper tonight:
- Pantry + freezer walk — what’s there, what’s low, what leaves
- Put-by goals — 1–3 items, rough jar counts
- Jars / lids / canner check
- Tested recipe + batch order for the day
- Skip list for when time runs out
- Label, log, done
That’s the whole system.
Closing
Preservation on a small homestead isn’t about filling every jar you own. It’s about matching the season’s gift to the hours you actually have — and telling the truth when the list needs to shrink.
If you’re staring at a counter full of produce and a short Saturday, pick one item from step 2, run steps 3–4, and call that a win. The shelf fills a little at a time. So does the habit.
— Derek, Layton Farms · Franklin, Kentucky